

Create Your API Key
Once you’ve received access to your sandbox or production account, follow these steps to generate your API key.
To use the Xoxoday Rewards API, you need API keys. You get them from the Xoxoday Admin Dashboard. This page shows you how, step by step.
What you will get
| Item | What it is for |
|---|---|
| Client ID and Secret ID | Your account's API keys |
| Access Token and Refresh Token | Sent with every API call |
Before you start
- You need login credentials for the Xoxoday Admin Dashboard.
- Know the IP address of the server that will call Xoxoday API.
- Have a safe place ready to save your keys and tokens.
Keys and tokens are shown only once. Finish all steps in one go.
Part 1: Get your Client ID and Secret ID
-
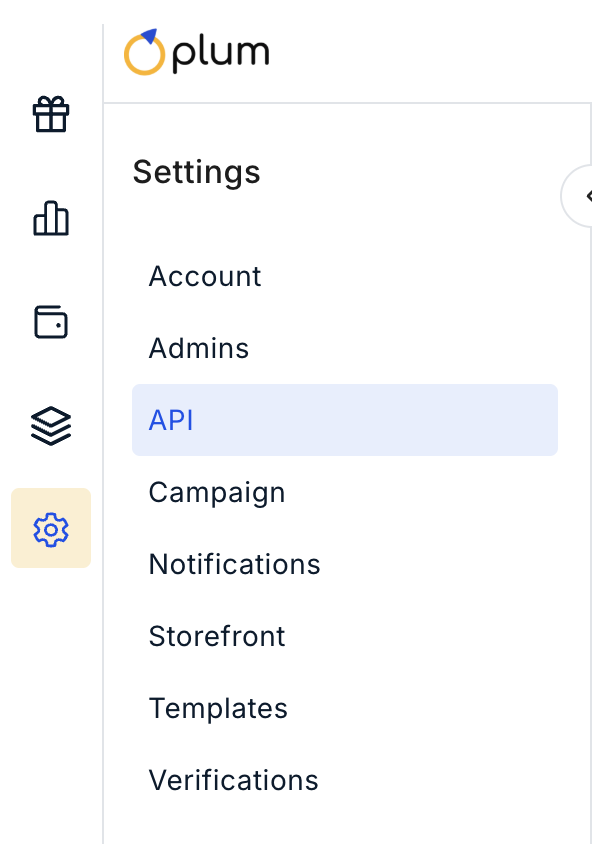
Go to Settings → API. Log in to the Xoxoday Admin Dashboard. Click Settings, then API.
-
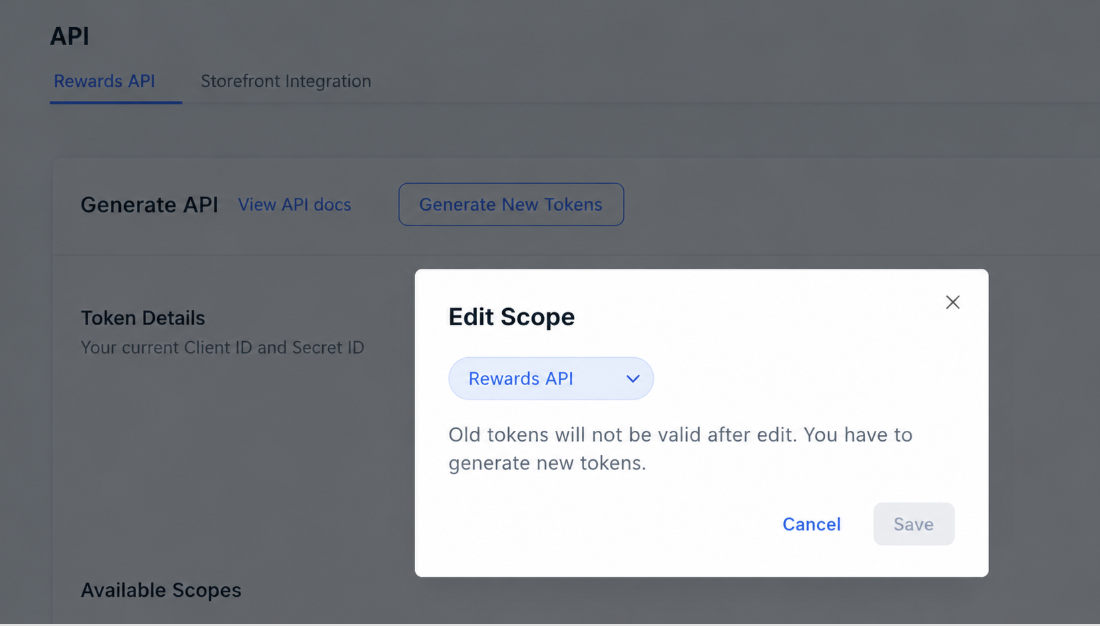
Click Generate Client ID. You will see it on the Rewards API tab.

-
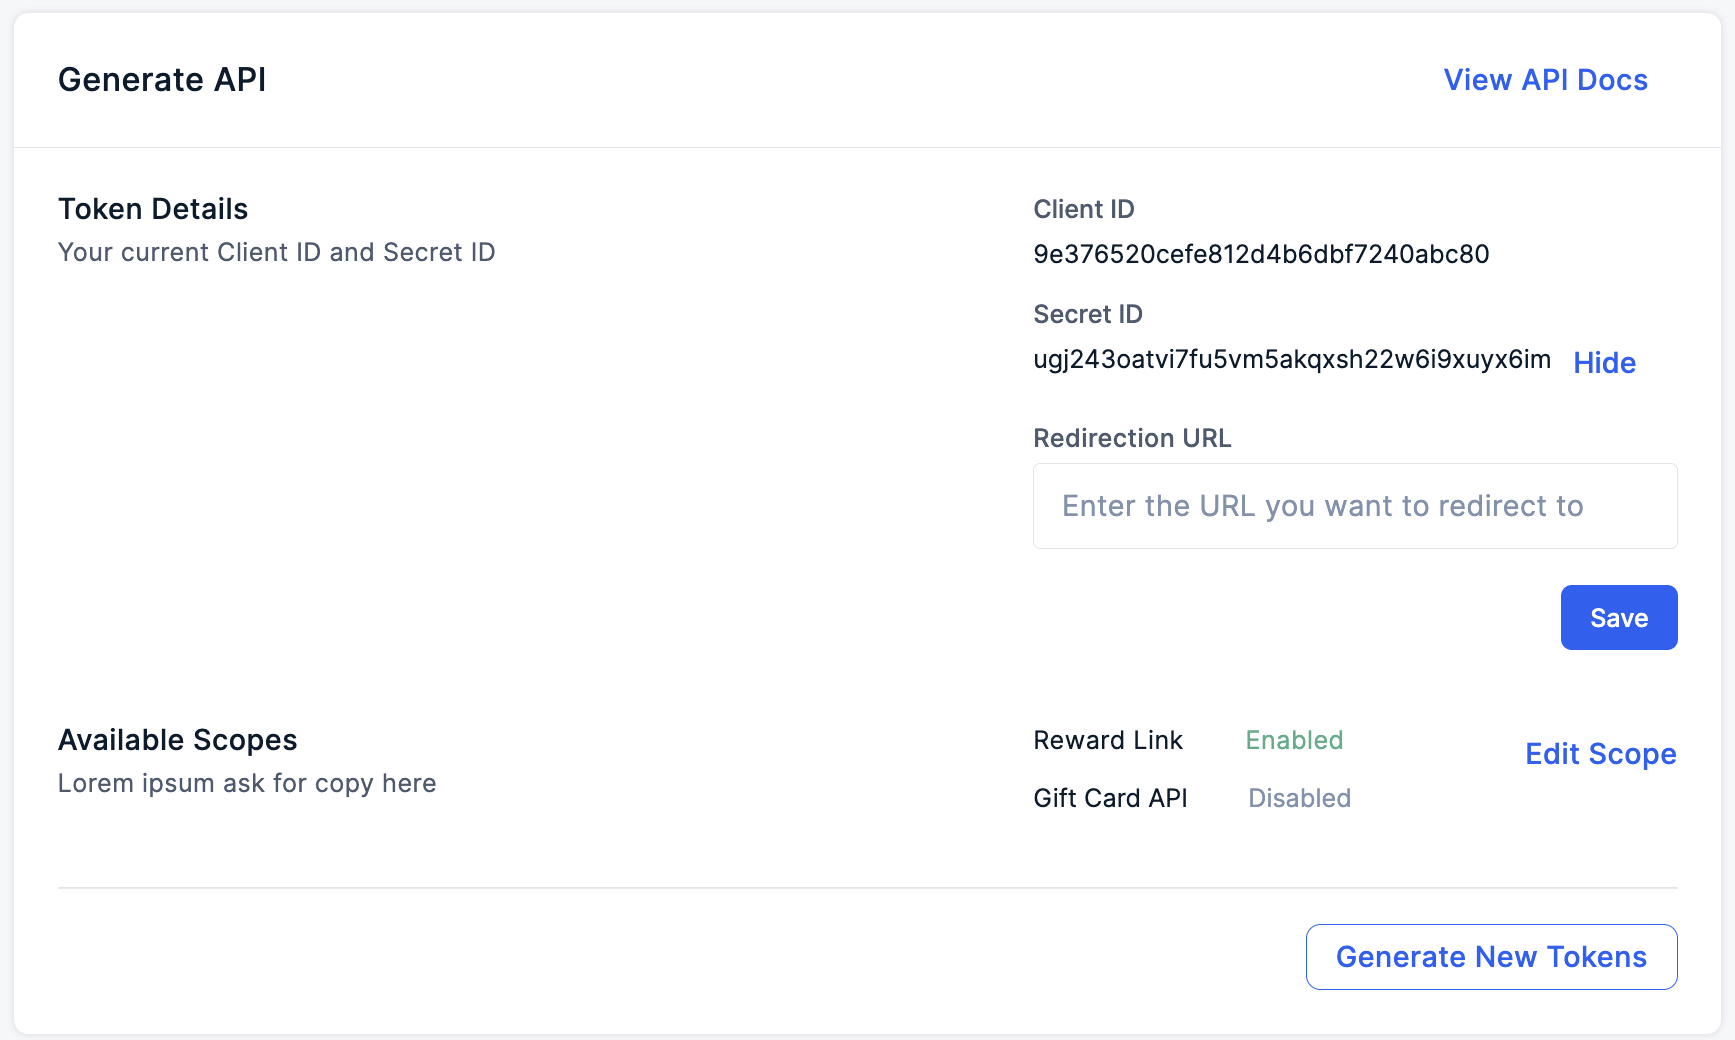
Click Save, then copy your keys. A pop-up opens. Click Save. Your Client ID and Secret ID now show on the page. Copy both and save them in a safe place.
Part 2: Add your IP and get your tokens
When you create tokens for the first time, Xoxoday asks you to add your server's IP. This keeps your tokens safe. Only that IP can use them.
-
Click Generate New Tokens. The button is at the bottom of the Generate API box.
-
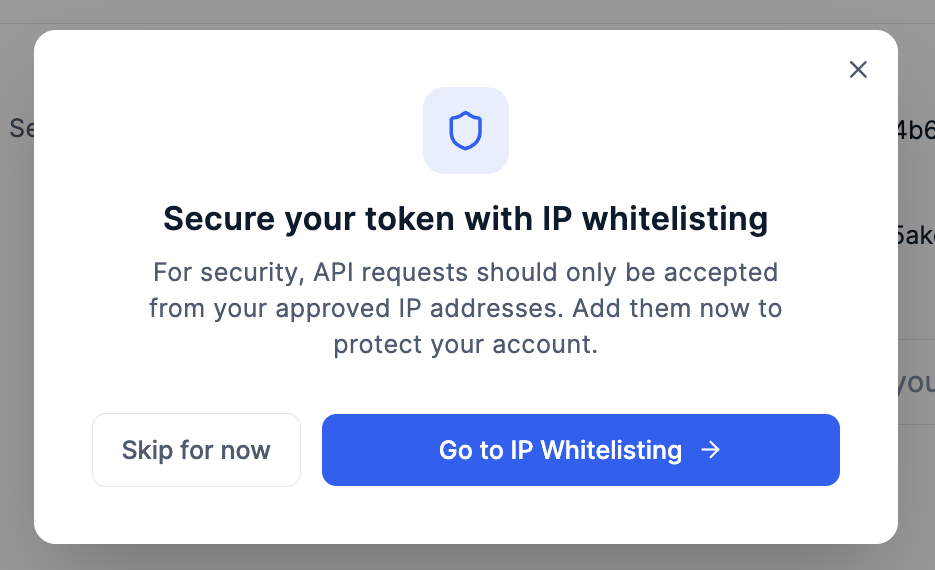
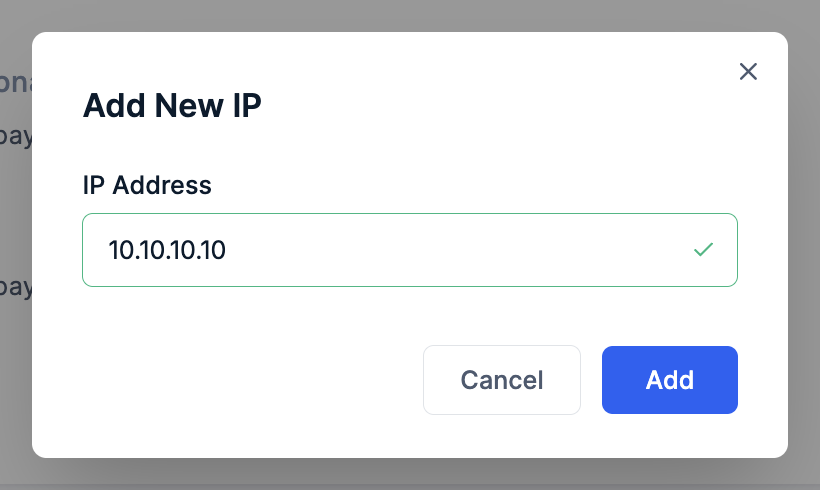
Click Go to IP Whitelisting. A pop-up asks you to add your IP address.
-
Type your server's IP and click Add.
-
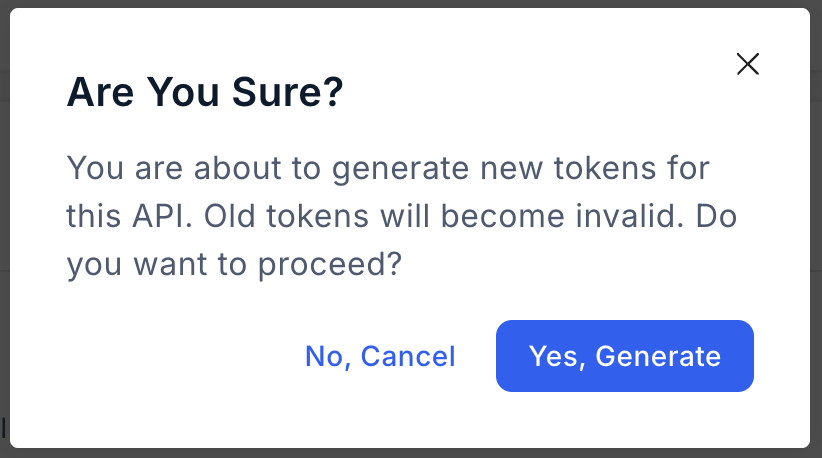
Click Yes, Generate. A pop-up warns that old tokens will stop working. Click Yes, Generate.
-
Copy your tokens. Click Copy Token Details. Save your Access Token and Refresh Token in a safe place. Then click Done.
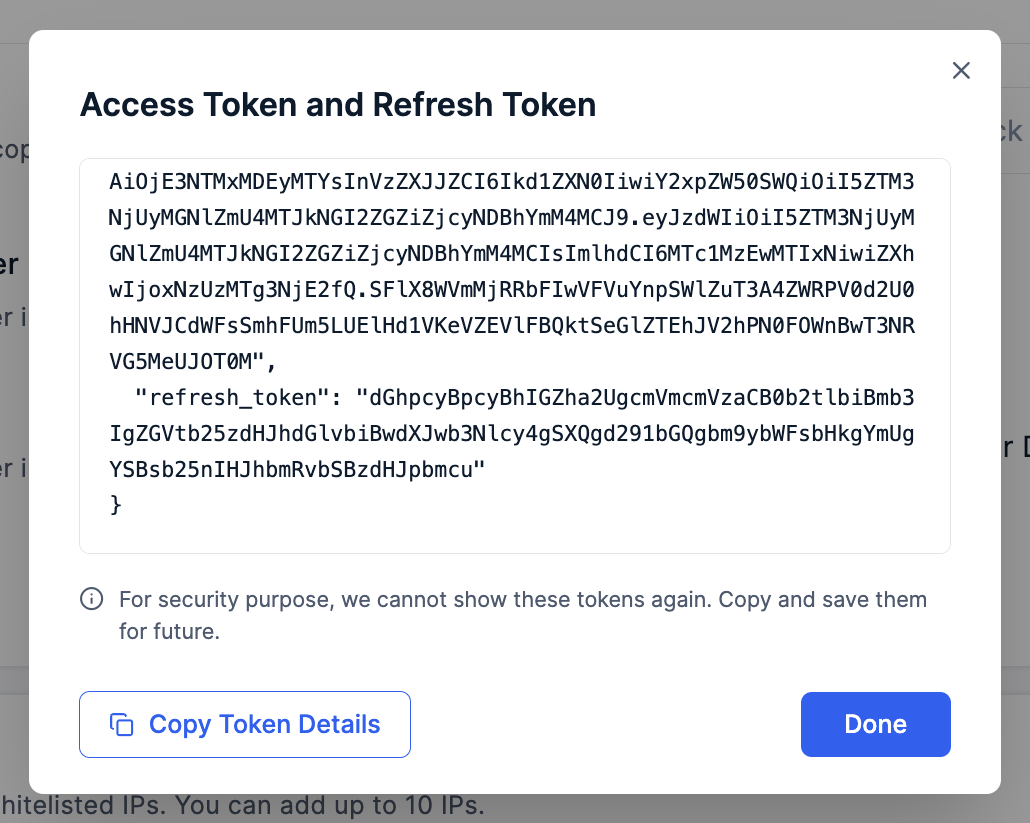
Tokens are shown only once. If you lose them, you must create new ones. The old ones stop working right away.
Check your Whitelisted IPs
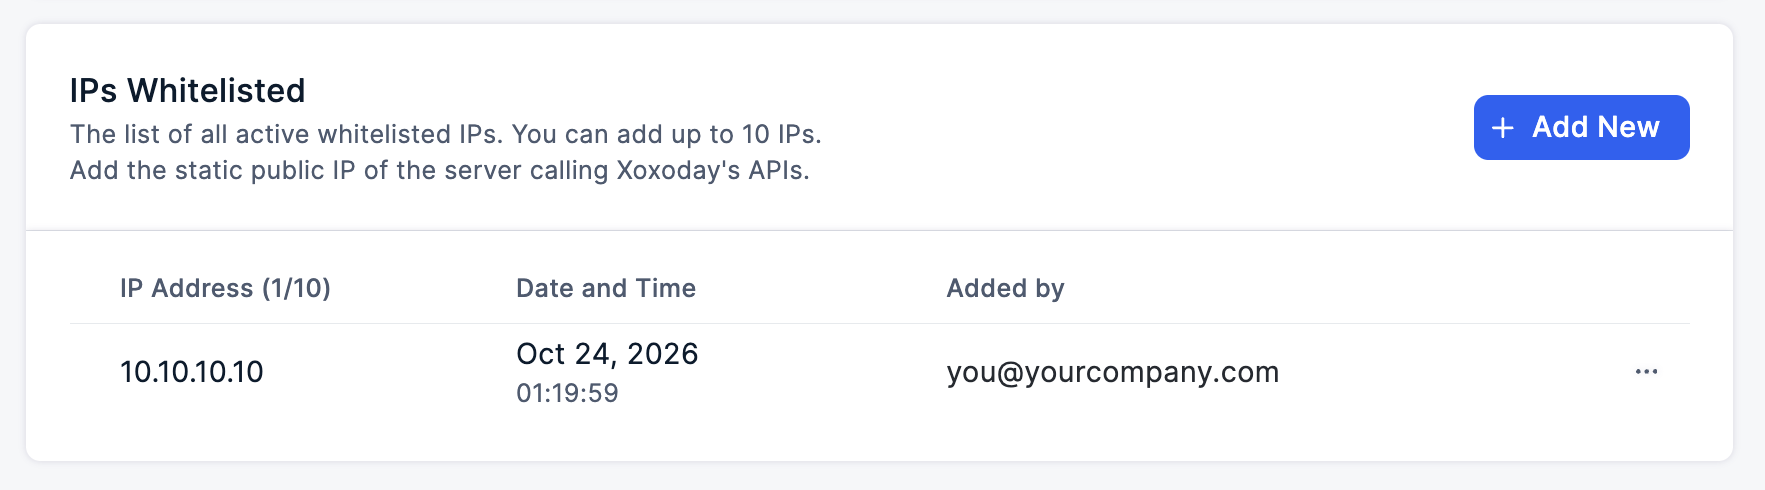
Your IP now shows in the IPs Whitelisted list. The yellow bar at the top of the page is gone.
Use your token
Add your Access Token to every API call like this:
Authorization: Bearer <your-access-token>
The call works only if the token is correct and the call comes from your whitelisted IP.
Keep your keys safe
- Save keys and tokens in a secure vault. Do not put them in your code, apps, or public repositories.
- Add only the IPs of servers that call the API.
- If you think a token has leaked, create new tokens. Your whitelisted IPs stay the same.
Do you want to skip adding an IP for now?
We advise against it, but you can. In Part 2, step 5, click Skip for now. Then click Skip anyway, then Yes, Generate. Your tokens will work from any IP, which is less safe. The yellow bar stays on the page until you add an IP. You can add one at any time. See the IP Whitelisting page.
Next step
Go to Set Up Your Environment to make your first API call.
Updated 15 days ago