

Create Your API Keys
Once you’ve received access to your sandbox or production account, follow these steps to generate your API key.
The Rewards API authenticates requests using an access token tied to your account and restricted to the server IPs you whitelist. This guide shows you how to create your credentials, generate tokens, and use them in API requests.
- If you're setting up a new integration, start with Step 1.
- If you already have a Client ID and Secret ID, start with Step 2. Your existing credentials stay the same.
Action recommended for existing integrations
We recommend that all existing Rewards API integrations generate new tokens and confirm their whitelisted IPs are up to date. Follow Step 2, Step 3 and Step 4 below.
Credentials overview
| Credential | Description |
|---|---|
| Client ID and Secret ID | Identify your account. Created once per account. |
| Access token and refresh token | Authenticate each API request. Can be regenerated at any time. |
Before you begin
- Make sure you can log in to the Xoxoday Admin Dashboard.
- Collect the IP addresses of the servers that will call the Rewards API.
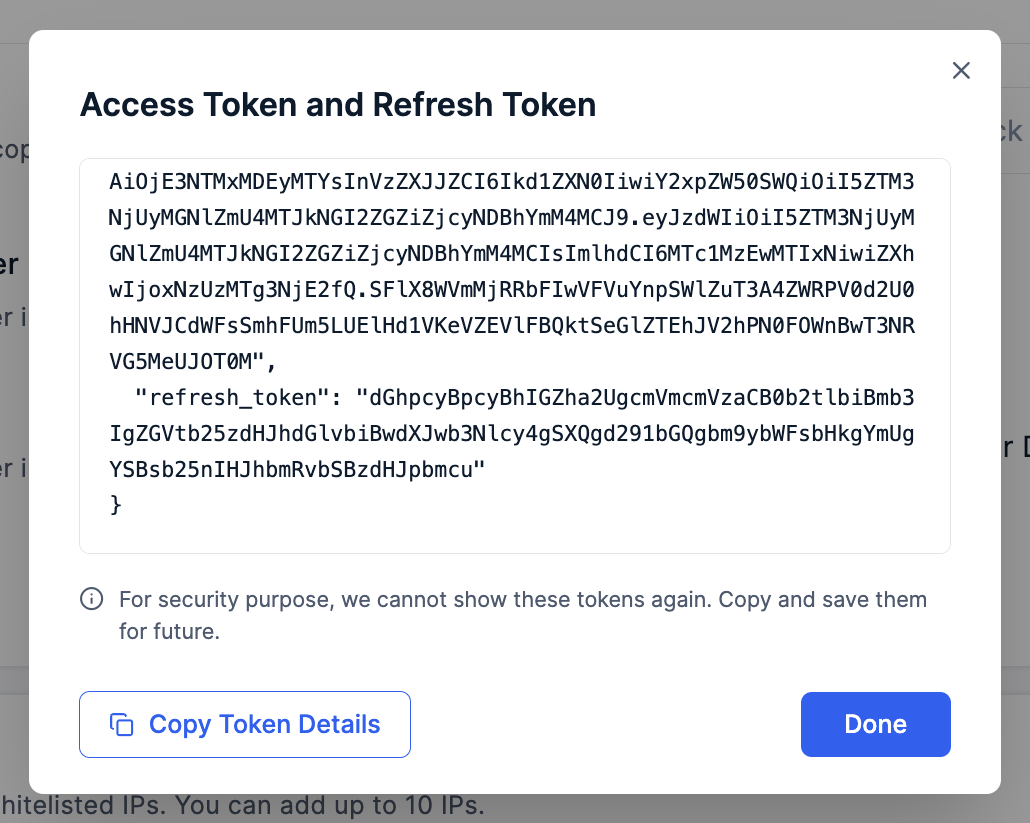
- Have a secrets manager or other secure storage ready. Credentials and tokens are displayed only once.
Step 1: Generate client ID and Secret ID
Skip this step if you already have a Client ID and Secret ID.
-
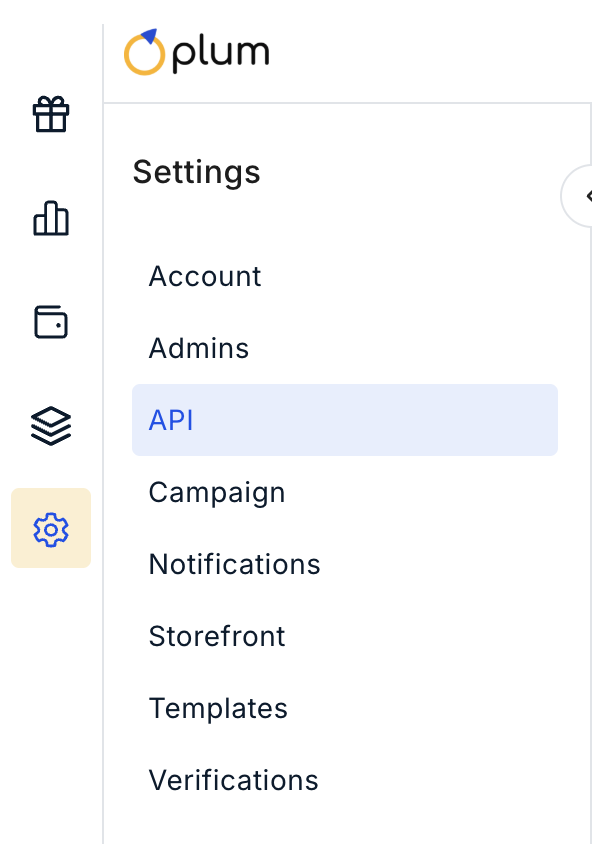
In the Xoxoday Admin Dashboard, go to Settings > API.
-
On the Rewards API tab, click Generate Client ID.

-
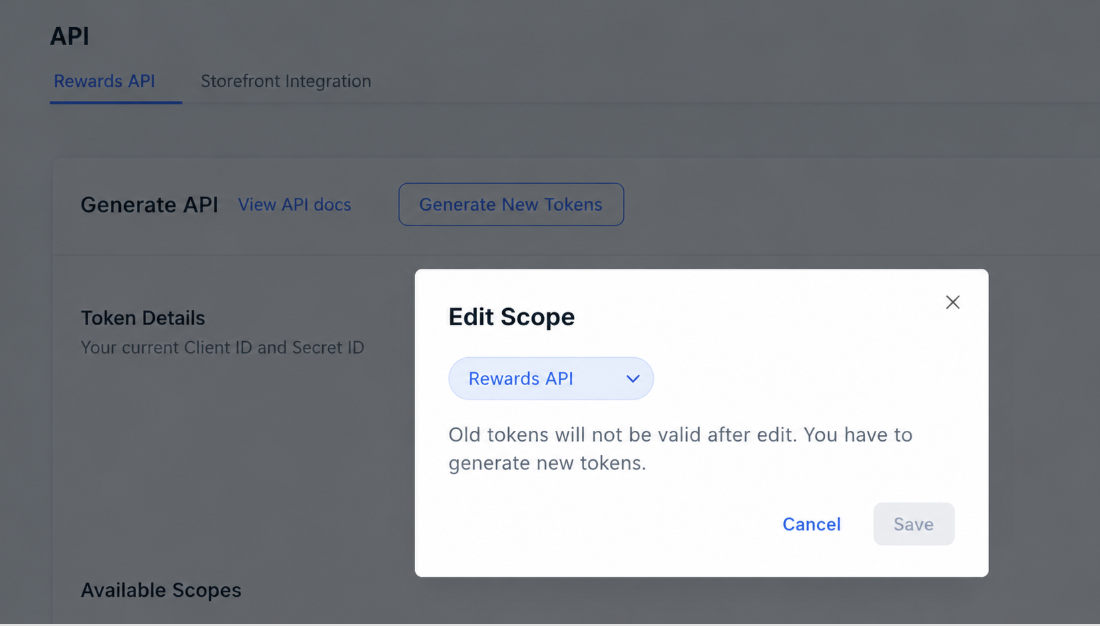
Click Save. Copy the Client ID and Secret ID and store them securely.
Step 2: Add or Update IP addresses for Whitelisting
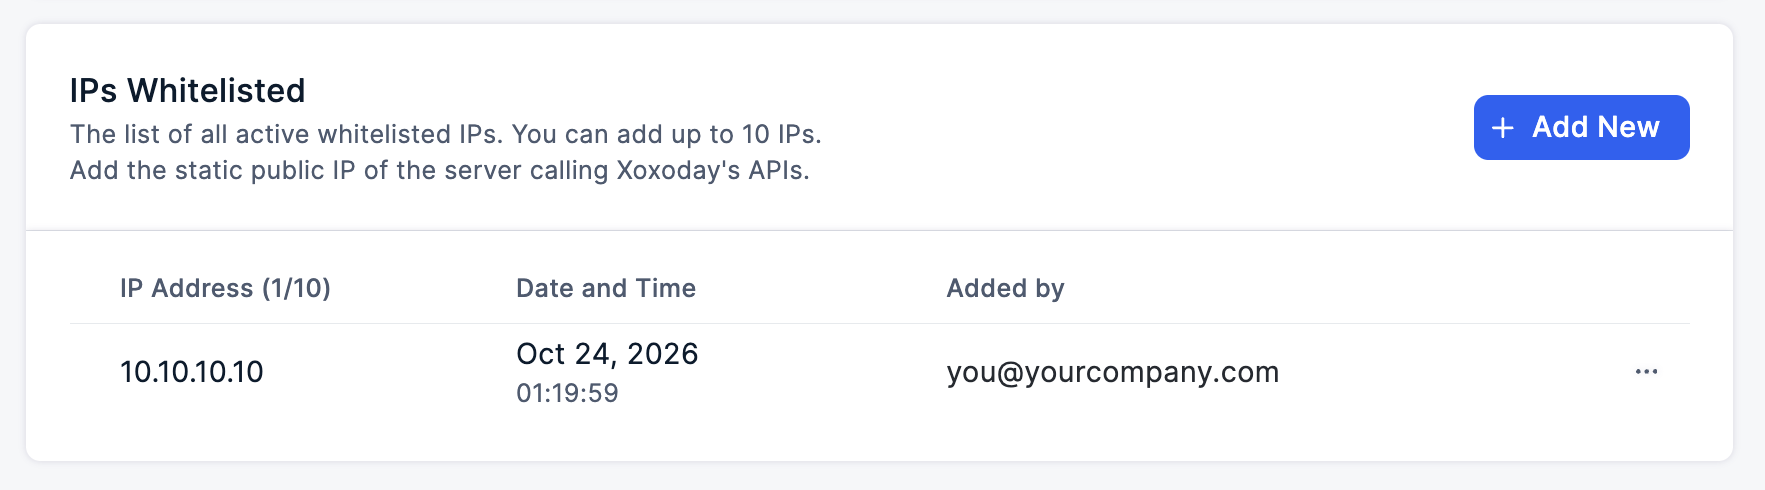
Tokens only work for requests sent from a whitelisted IP.
- New integrations: You'll be prompted to add an IP in Step 3.
- Existing integrations: Go to Settings > API and check the IPs Whitelisted list. Add the IPs of any servers that now call the API, and remove any you no longer use.
Step 3: Generate Access and Refresh tokens
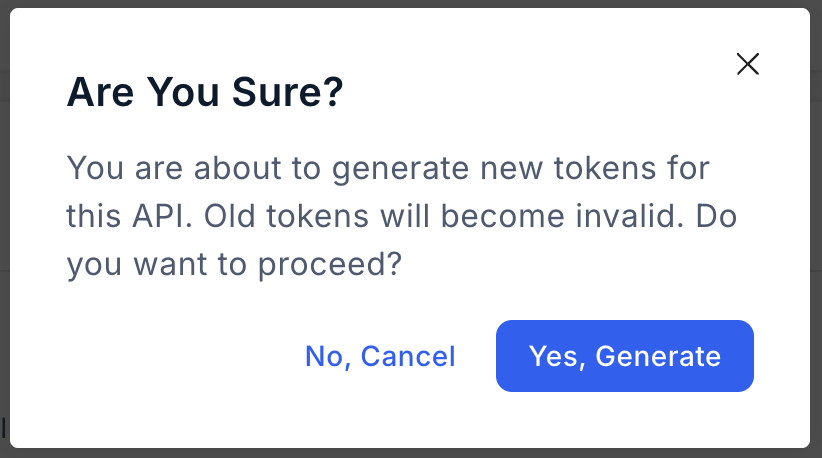
Generating new tokens immediately invalidates your current tokens
If you have a live integration, be ready to update your systems with the new tokens as soon as you generate them to avoid failed requests.
-
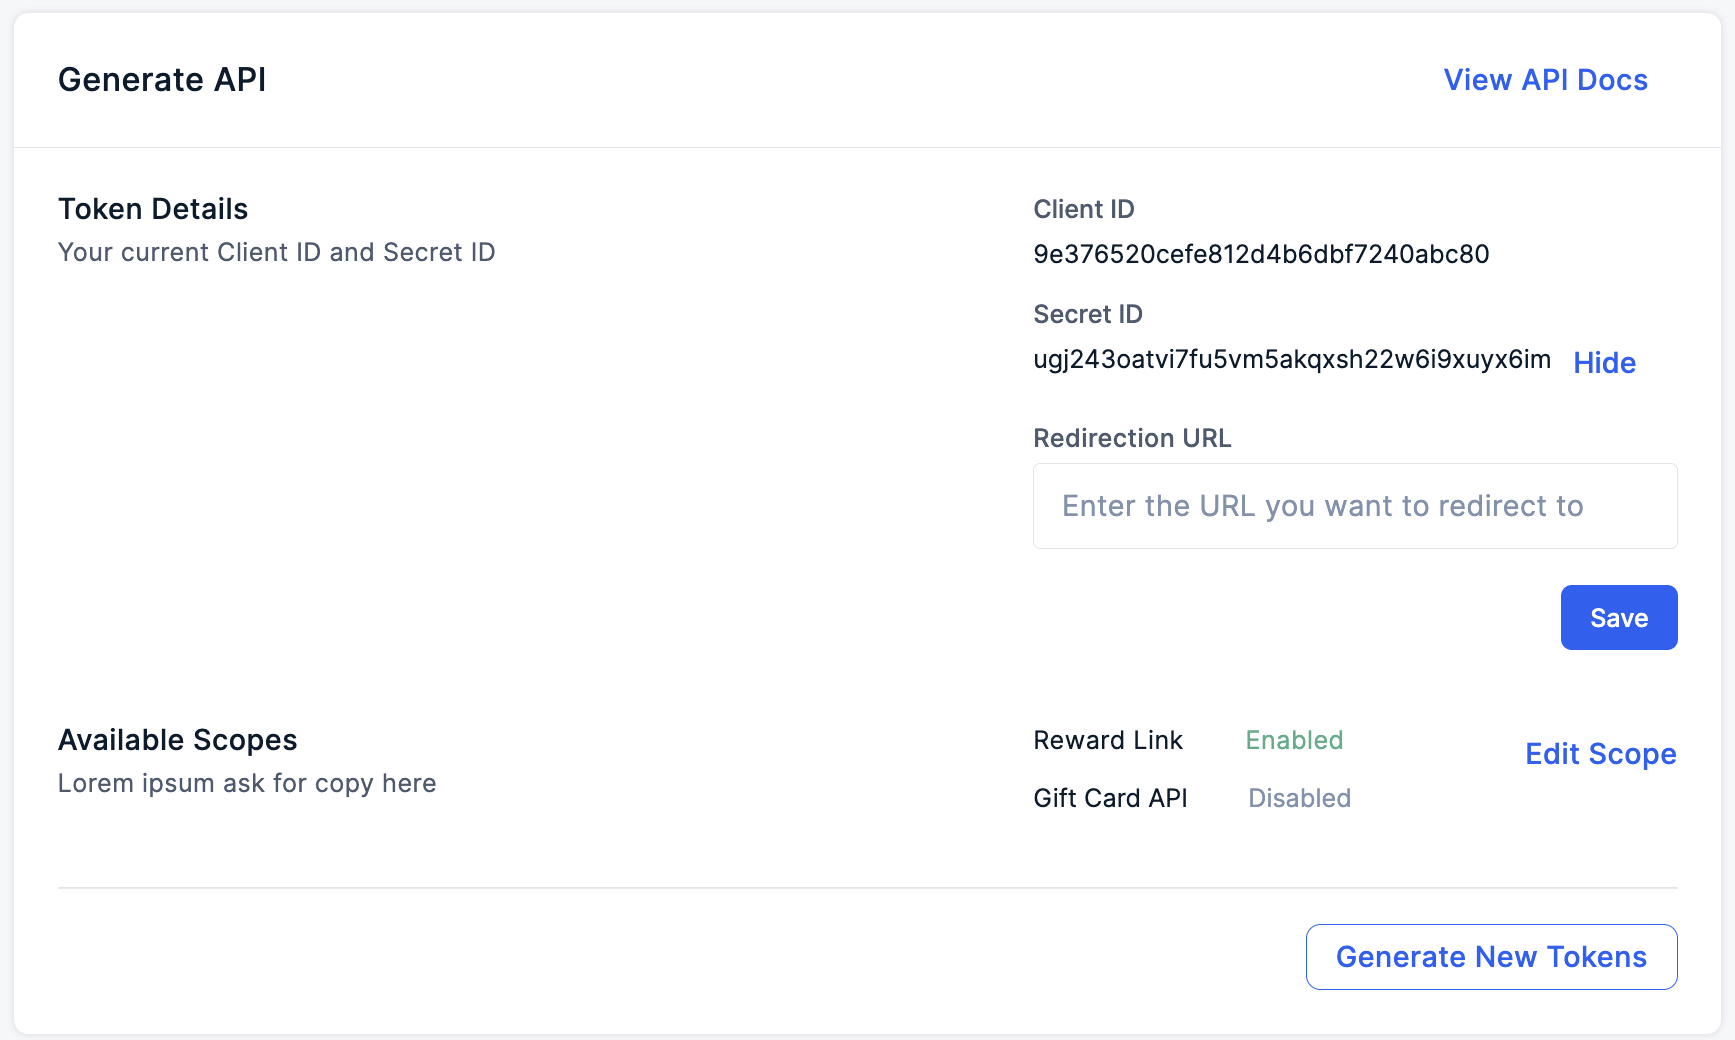
Go to Settings > API and click Generate New Tokens.
-
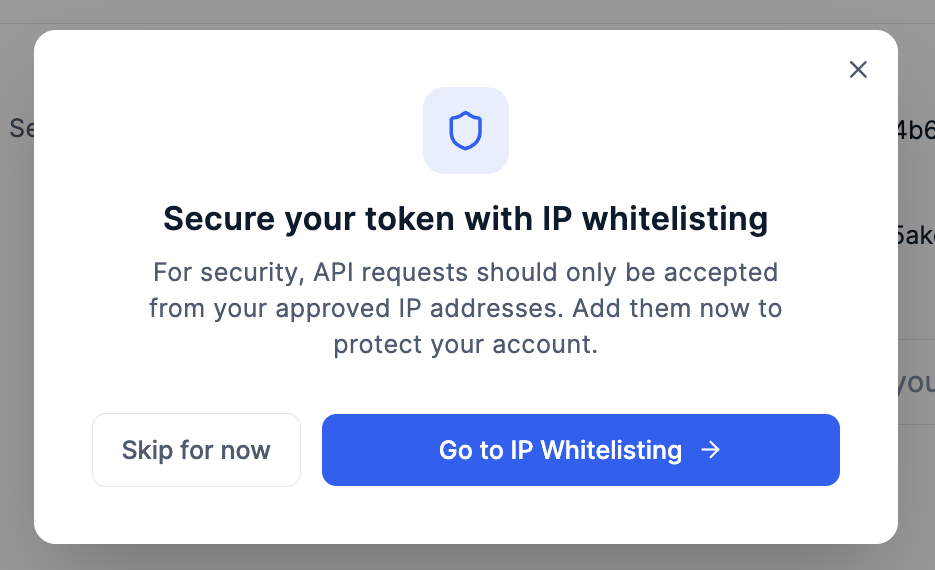
If no IP is whitelisted on your account, you're prompted to add one. Click Go to IP Whitelisting. Otherwise, skip to step 4.
-
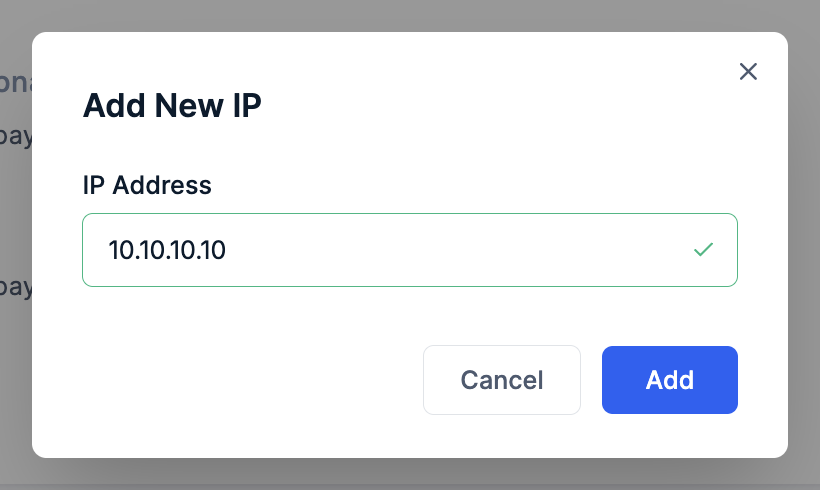
Enter your server's IP address and click Add.
-
Confirm by clicking Yes, Generate.
-
Click Copy Token Details, store the access token and refresh token securely, then click Done.
Your IP now appears in the IPs Whitelisted list.
Step 4: Authenticate your requests
Include the access token in the Authorization header of every request:
Authorization: Bearer <your-access-token>
Requests succeed only when the token is valid and the request comes from a whitelisted IP.
If you're updating an existing integration, replace the old tokens in your systems and send a test request to confirm everything works.
Security best practices
- Store credentials and tokens in a secrets manager. Never commit them to source control or embed them in client-side code.
- Whitelist only the servers that call the API, and remove IPs you no longer use.
- If you suspect a token has been exposed, generate new tokens. Your whitelisted IPs don't change.
Generating tokens without an IP whitelist
We strongly recommend whitelisting IPs. If you need to skip it temporarily, click Skip for now when prompted in Step 3, then Skip anyway, then Yes, Generate. Your tokens will then work from any IP. A reminder banner stays on the page until you add an IP, which you can do at any time from IP Whitelisting.
Next steps
- Set up your environment and make your first API call.
Updated 14 days ago